Blade Sealing
Sealing your Table Tennis Blade
If you re-glue your rubbers onto your blade regularly, you should seriously consider sealing your blade. A sealer (or varnish) gives a thin layer of protection to the blade surface, as well as strengthening the adhesion of the fibres on the surface of the blade. This is particularly important for blades with soft and/or fragile outer layers, to help prevent splintering when you pull off your rubber. Similarly if you use a very strong glue it becomes much more important. Although there is no harm in sealing any new blade, for many blades with hard outer plies it's not really necessary.
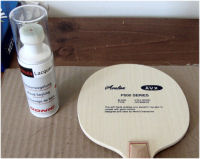
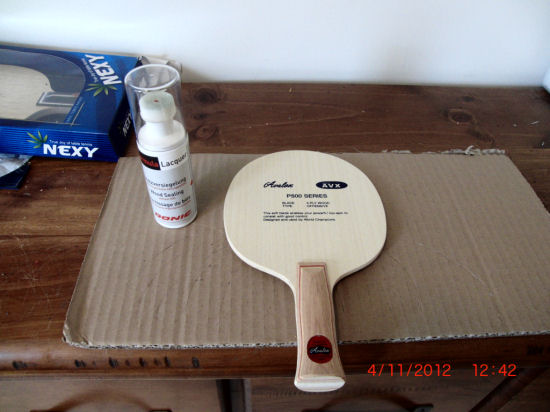
Although this guide uses the Donic Formula Lacquer as an example, most sealer are very similar (if not identical), so the tips and recommendation here still apply.
Tip: When removing a rubber from your blade (sealed or not), always pull off at an angle to direction of the fibres, as this reduces the chance of pulling off fibres.
Note1: This guide is for sealing with water based sealers, which is pretty much all table tennis blade sealers currently on the market. These sealers do not moisture-proof the blade surface. For an even stronger, water proof and permanent protection use a polyurethane based sealer, which I'll cover in another article.
Note2: Although some people like to seal the edges of the blade as well, there is really too little strength in the sealer to give it any significant protection. One or two layers of edge tape gives far more protection, or use a foam edge tape for even more protection.
Note 3: Water based sealers only protect your blade enough for a few rubber removals. I would recommend using it again every 2 time you remove the rubber.
Preparation:
Step 1. If your blade is not new and has not been glued before, you must give it a very good clean before sealing or it can end up rough or messy. Usually most old glue can be rubbed off with your finger (or an old piece of rubber works well), but for stubborn glue remnants a bit of solvent on a cloth will help (mineral turps works well). Let it dry for at least a few hours before you seal.
Step 2. Get out your sealer and blade into a well lit area, so that you can use the glare of the light to ensure you cover every spot on the blade.
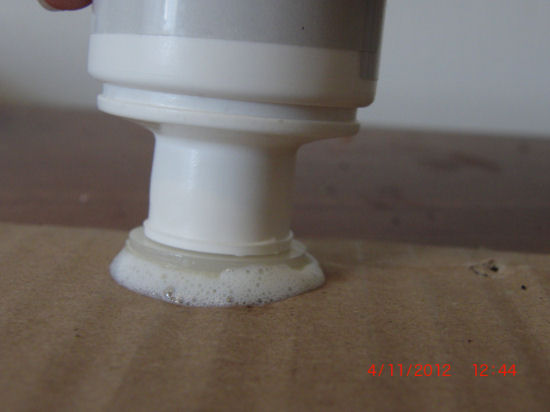
Step 3. Squeeze down the sealer bottle a few times onto a piece of carton/plastic/glass until the sealer sponge is completely soaked in the sealer and it's foaming out the sides. Although you could do this on your blade as well, some blade surfaces are quite delicate and the plastic pin inside the pad (that releases more liquid from the bottle) could potentially dent the wood surface. The soaked sponge makes it much easier to spread the sealer.
Applying the Sealer
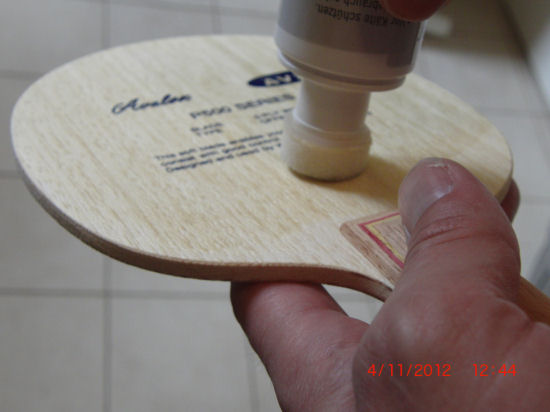
Step 4. Spread the sealer (I usually use circular pattern) to ensure the whole surface is covered. Reflected the blade surface in the light to make it easy to see if you've missed any spots. Gently push down the bottle tip onto the blade (to press-in the plastic pin) to release more sealer when required.
Note since the wood tends to soak up the sealer, don't put on too much on and spread it quickly (within a min for each side).
Step 5. Once you've covered the whole surface, go over it again pushing down only gently and in lines from top to bottom to ensure it's spread evenly and are no drops left un-spread.
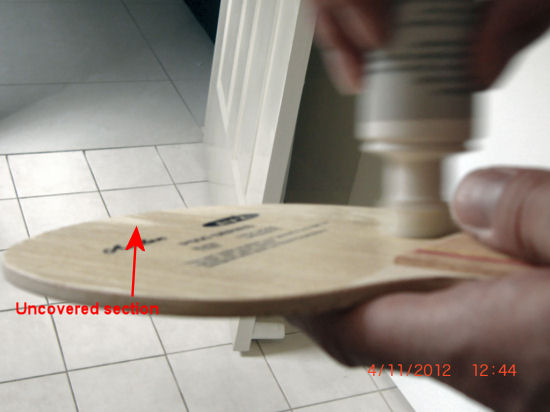
Note 4: Personally I prefer to leave the area below the blade face (next to the handle) uncovered. This allows me to see the difference between sealed and unsealed afterwards, and also allows me to see if another coat is necessary next time to put on a rubber.
Step 6. Repeat for the other side.
Step 7. R epeat the the process again to add another thin layer on both sides. Again ensure that it's spread evenly everywhere.
Step 8. It only takes a few mins to be touch dry again, which you can speed up by waving it around a little. Don't put it down anywhere to let dry before this, or dirt or dust will stick to it before it's dry.
Step 9. Most of the manufacturers do not seem to indicate how long this stuff takes to dry, but I like to leave it at overnight or 24h. If you glue it before this time, it might not only reduce the protection of the sealer, but it tends to still feel a little sticky too, which can cause issues when spreading the glue (it tends to 'ball up' more easily).
Cleaning Up:
Step 10. Although the blade is now finish, the cleaning up process is important or the applicator will dry up hard, making it much harder to apply the sealer next time.
Immediately after you finish, hold the bottle up-side down under a running tap and squeeze the sponge to squeeze out all the sealer. Holding it up-side down ensure that the water does not enter the bottle. Do not press the pin inside the sponge when you're squeezing or you'll waste sealer.
Step 11. Get a tissue or similar and squeeze out the remaining water from the sponge, and then put the lid back on the bottle. Wash your hands afterwards immediately or you'll get sealer on your fingers (probably harmless but it's harder to remove after it's dried).
Finished!

Article and copyright by: haggisv